How to resize a Gokrazy SD card
Published on , 964 words, 4 minutes to read

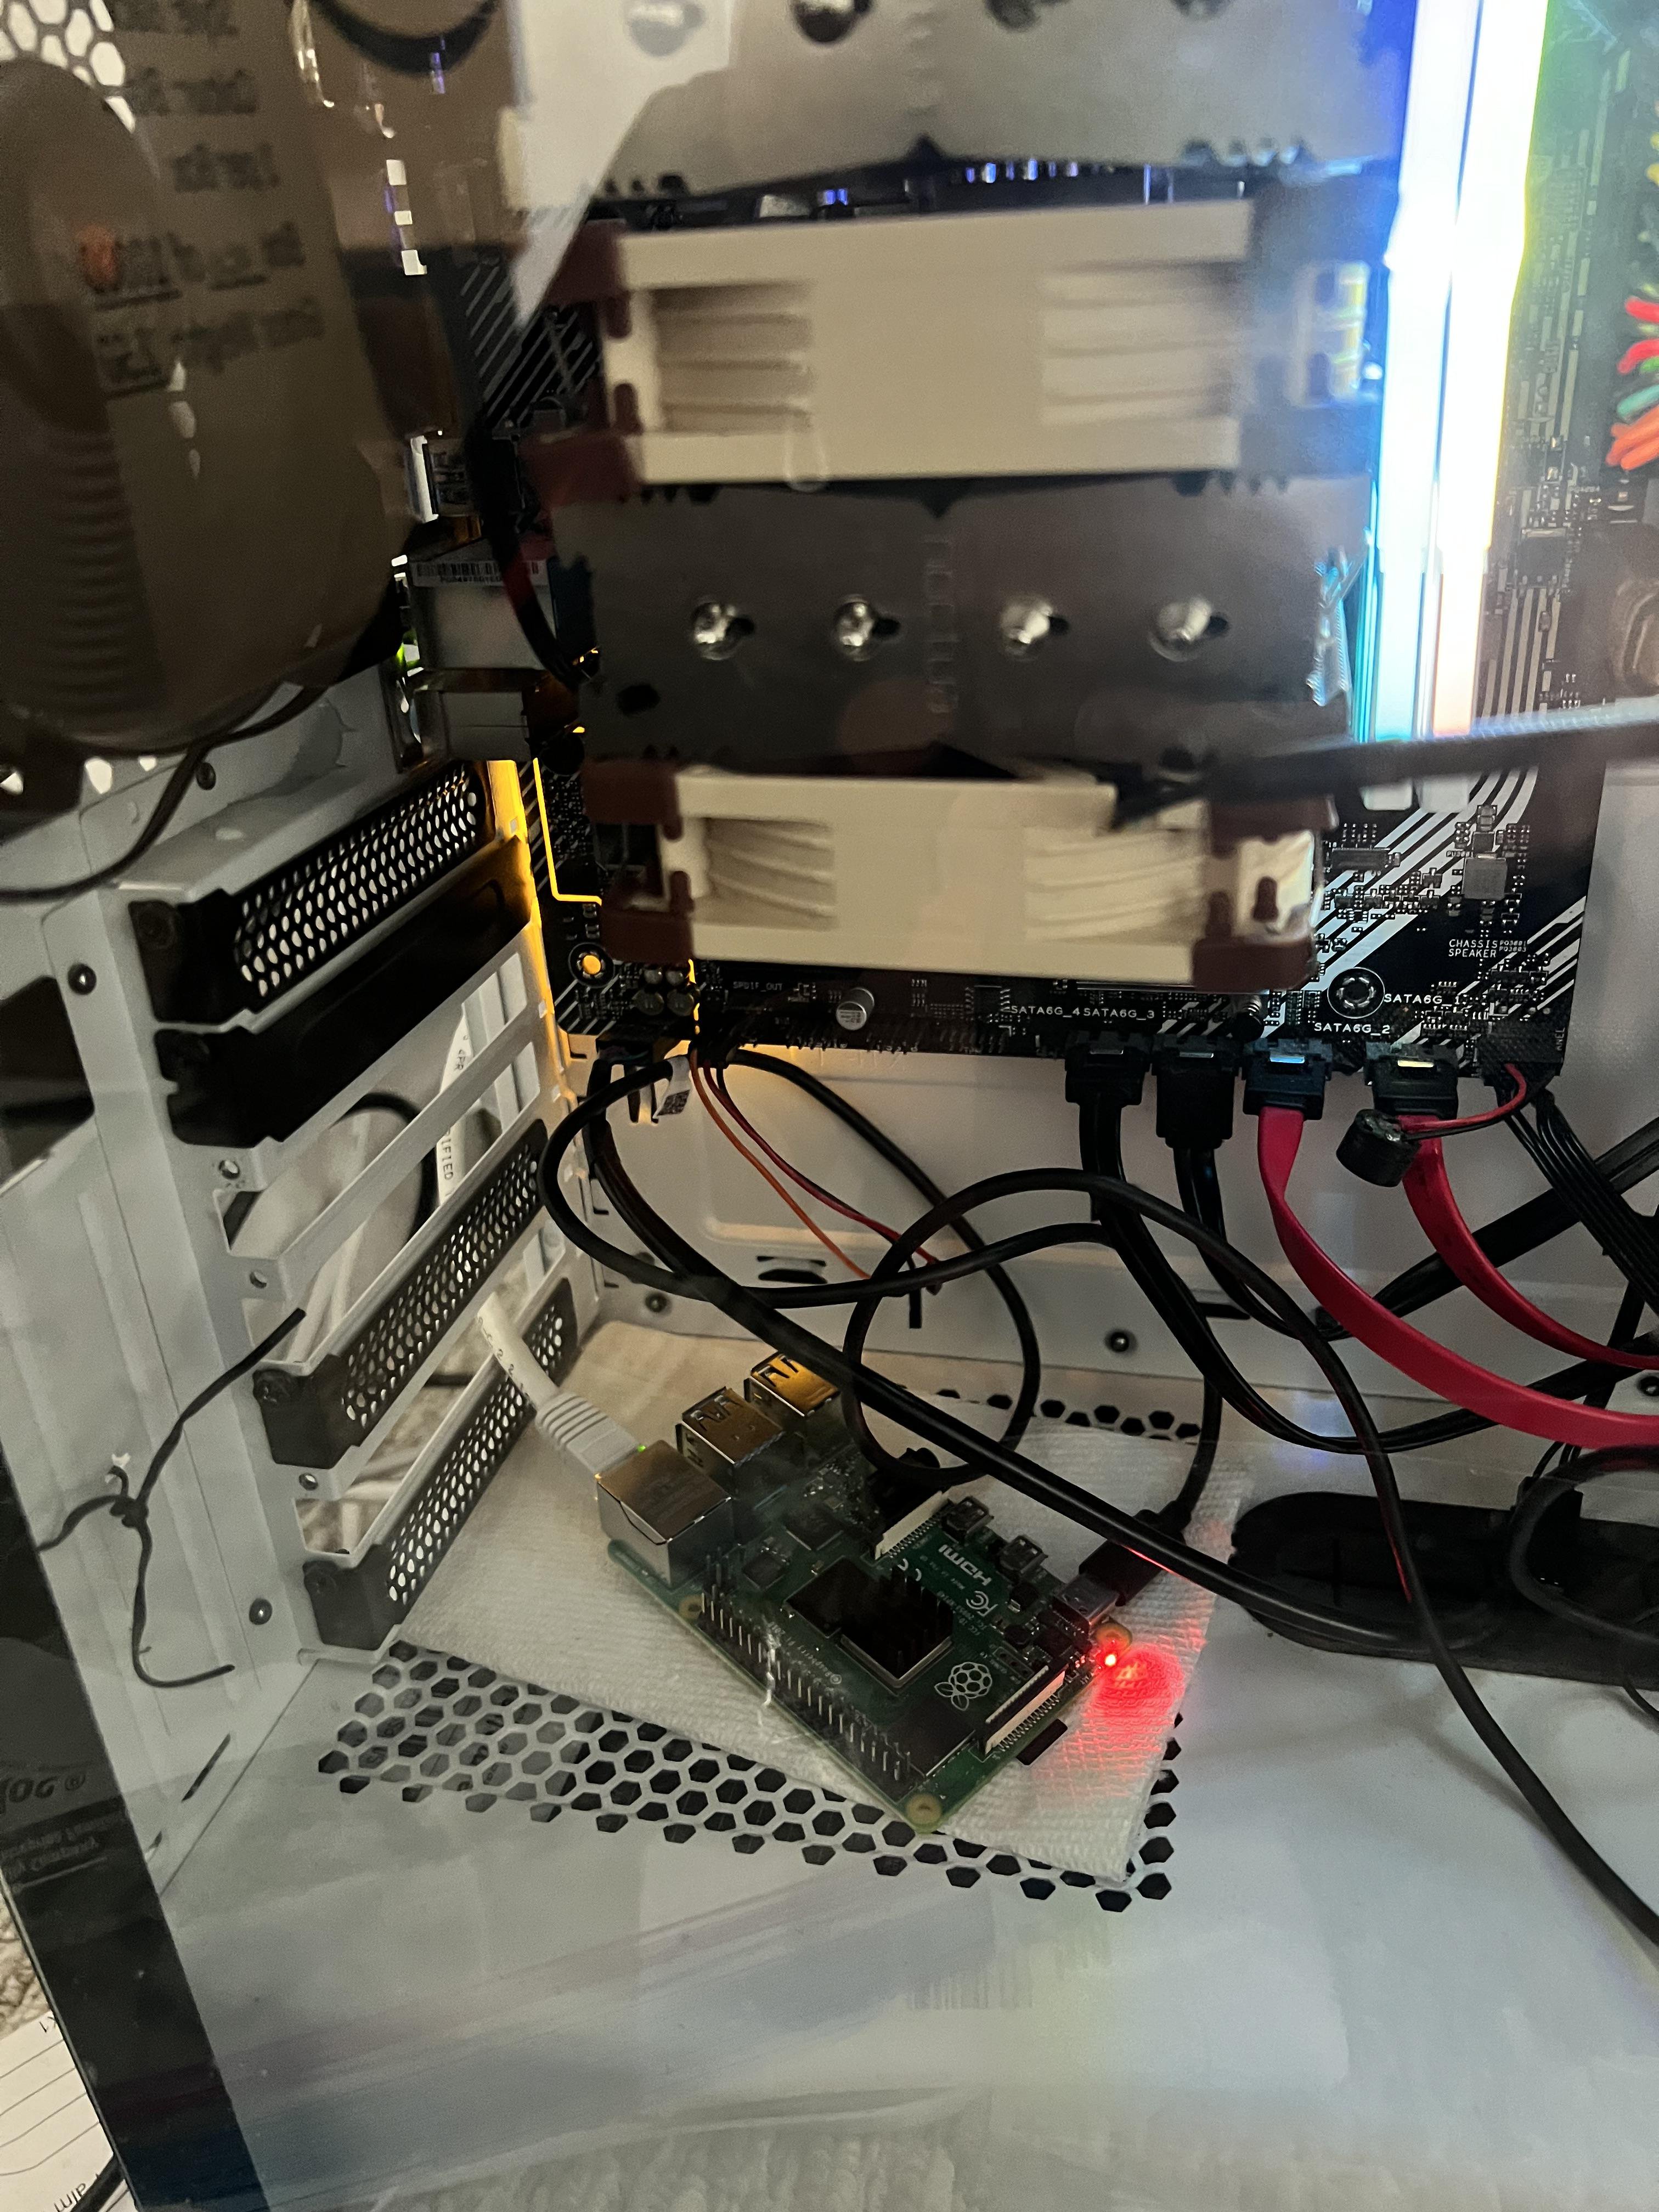
I have a Raspberry Pi embedded into my main shellbox. This allows me to have a built-in device that lets me do things like act as a serial terminal of last resort for my tower. It's powered by a Molex to USB-A cable (which is about the most cursed cable I have ever used) and probably benefits from the absolutely overkill tier Noctua cooler that I put on that board.
Recently I decided to put GoToSocial on that Raspberry Pi to see if it would work in Gokrazy. Turns out it does! I also installed minio on there to act as an S3 compatible storage solution and it's basically a little social network in a box.
However, there was only one problem. I set up my Gokrazy node with a 64 GB SD card because that's what I had laying around. Given that social media stuff can take a lot of data, I wanted to upgrade it to a 512 GB SD card so that I didn't have to care about it for a while. I also wanted to make a backup of the XeDN bucket onto the Raspi as well as another one I'd mail to a friend.
Here's how I copied the data over to the new SD card.
First, I plugged both SD cards into my shellbox over the front panel USB. My SD card reader had support for both a Micro SD card and a normal SD card, so I plugged the 64 GB card into a SD-uSD adaptor and had both of them connected. If you only have one SD card slot to play with, you can also copy the data to a file as an intermediate step.
Once they were plugged in (the old one was chosen to be /dev/sde and the new one was chosen to be /dev/sdd), I copied the data over with dd(1):
sudo dd if=/dev/sde of=/dev/sdd bs=4M status=progress
The data copy took at least half an hour, which I left running while playing some Pokemon Infinite Fusion.
Once it was done, I ran the sync command for good measure and
disconnected my SD card reader. Then I removed the old SD card and
plugged the reader back in. After running the lsblk command, I knew
I was good.
Now I needed to resize the partition at /dev/sdd4. I installed growpart from the cloud-utils package and ran it on the SD card:
sudo growpart /dev/sdd 4
This grew the GPT tables for the SD card to fit the new size. Next I
needed to run a filesystem check on the storage partition and resize
it with resize2fs:
sudo e2fsck -f /dev/sdd4
sudo resize2fs /dev/sdd4
After that finished, I test-mounted the storage drive on /mnt/aile
and unmounted it. Everything worked great. I took out the SD card from
my shellbox, popped the new card into the raspi, booted it up and bam:
512 GB of storage:

Stay tuned, I have plans.
Facts and circumstances may have changed since publication. Please contact me before jumping to conclusions if something seems wrong or unclear.
Tags: gokrazy